welcome
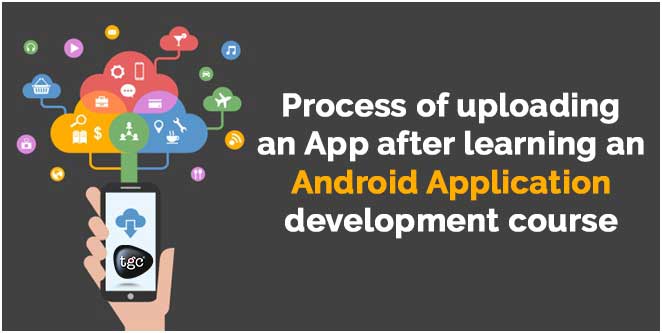
dSo you have completed your Android App Development Courses in Delhi and spent sleepless nights on your Android app? Finally, it’s time here to start your first Android app after completing your course at Android training institute in Delhi. Now you may want to upload your android app and showcase your talent to the world. With around 1 billion active users across the world, here are the steps to take you a step ahead to reach your target audience.
Google Play has been the leading distributor network for Android apps. Here’s how to upload and publish your Android Apk file.
Android Studio
First of all, you need to open Android Studio. Open your project that you want to upload. On toolbar option, click on “Build” option and choose “Generate Signed APK”. Now, enter Keystore details –
- Create new Keystore
- Choose current Keystore
- If you have created keystore already, choose the file path and enter password, key password details, and key alias.
- If you don’t have keystore file, click “Create New Keystore” button
Create new Keystore
Next up, it will ask to define the keystore path and enter the mandatory information –
- Provide password and confirm password
- Key Alias name
- Key password and confirm it
- First and Last Name of Android app certificate. Name of certificate can be your organization name or app name.
Generate Signed APK
After creating your keystore successfully, click “Generate Signed APK”. You need to define the destination APK folder. Choose “Release Build type” when you upload your android app. Once all processes are finished, it will notify you that APK is generated successfully as a popup on the top right corner.
Google Developer Console
Now click this link https://play.google.com/apps/publish/ to launch Google Play Developer console on your web browser. Login your account as a Google developer. Click “Sign up to create your new developer account, if you don’t have one.
To create your Google developer account, you will have to pay upfront fee $25 only once. After creating your Google developer account and paying the fee, use the same account to login to developer console. At the top right corner, click “Create New Application”.
Create New Application
Enter up to 30 characters of Android application name in the popup. Add a description of around 4000 characters in the field. Now you will need to upload graphics for your app, including –
- High resolution icon (32-bit 512×512 PNG with alpha)
- Screenshots (minimum 2, maximum 8)
- Feature graphic (24-bit PNG without alpha or 1024x500h JPG)
After uploading graphic, choose the category of app –
- Games
- Application
Choose the category of application in next drop-down. Add URL to your privacy policy if you are getting sensitive or personal user information.
In Price & Distribution tab, select whether you want to offer your Android app for a fee or free. You can also specify target countries where you want to distribute your app. Define whether your app has ads or not. Click “Yes” if it contains ads. Click “Upload your first apk to production”. Click on Browse and select APK file to upload.
After all of these steps, it will ask you to click “Ready to Publish” on the top left corner. Hit the “Publish” button.


0 Responses on Learn the Process of uploading an App after learning an Android Application development course."